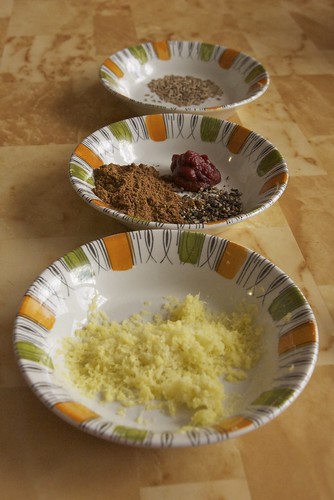
[front to back: grated frozen ginger, garam masala + black pepper + tomato paste, cumin seeds]
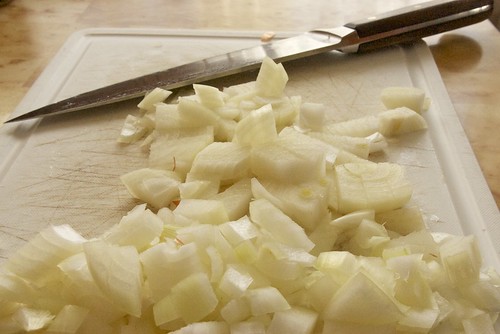
[chopped onion]
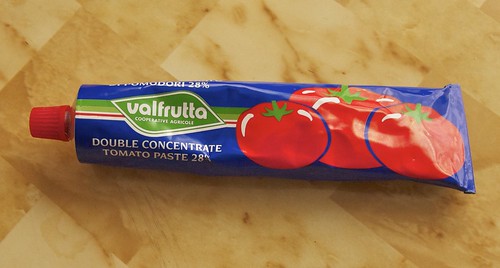
[tomato paste]

[chickpeas]
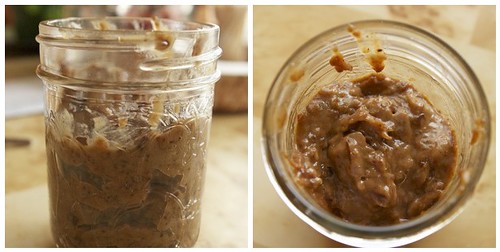
[tamarind paste]
Regarding the tamarind paste: the last time we went hunting for some, we could only find a package of whole tamarind (not fresh pods - this stuff was almost the texture of dried figs). In order to make a paste, I pureed the whole tamarind (about 6 oz) with a healthy splash of apple cider vinegar (maybe 1/4 cup) and a few tablespoons of sugar. It came out with a lovely texture and nice tangy flavour.
Ingredients
2 tbsp vegetable oil
1/2 tsp cumin seeds
1 tbsp garam masala
1/4 tsp fresh ground black pepper
1 tbsp lemon juice or tamarind paste
1 tsp tomato paste
1-2 medium onions, chopped
19 oz can of chickpeas
3 tbsp reserved chickpea liquid
1/2 cup warm water
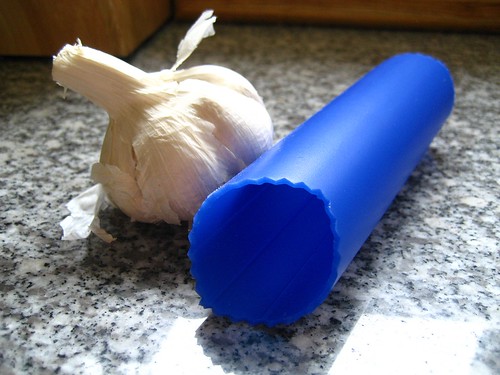
~2 inches fresh/frozen ginger, grated or finely chopped
salt to taste
Instructions
Heat oil in a heavy bottomed skillet over high heat. Add cumin seeds and heat until darkened. Add onions. Reduce heat to medium. Fry until softened (5-6 minutes). Turn heat to low. Add ginger, garam masala, and pepper. Stir well. Add tomato paste. Stir again. Add drained and rinsed chickpeas (remember to reserve 3 tbsp of liquid!). Add chickpea liquid and 1/2 cup warm water. Let heat for ~10 minutes, stirring gently (trying not to break up the chickpeas). Add tamarind paste or lemon juice to the dish and stir. Serve hot over basmati rice, or with naan bread. Makes ~ 4 portions.
Note: the heat in this dish comes from the ginger (and to a lesser extent the black pepper). So you can modify those amounts to get your desired spiciness. As is, I would consider it a fairly mild dish.
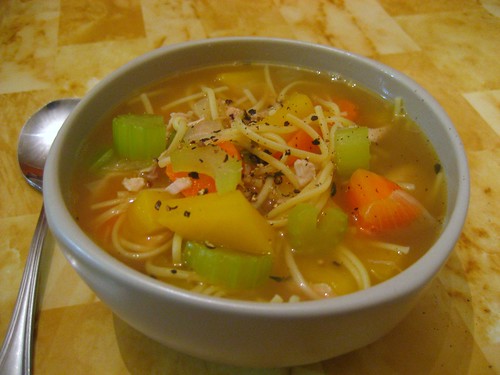
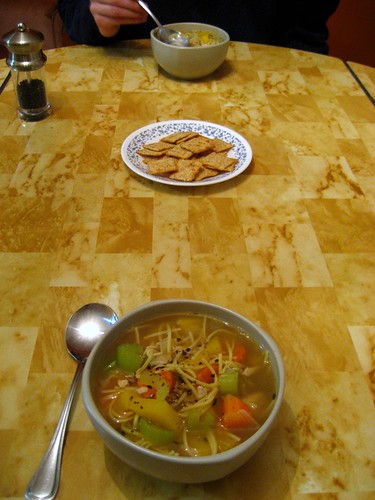
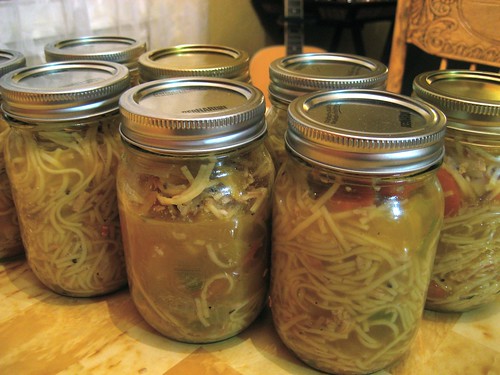
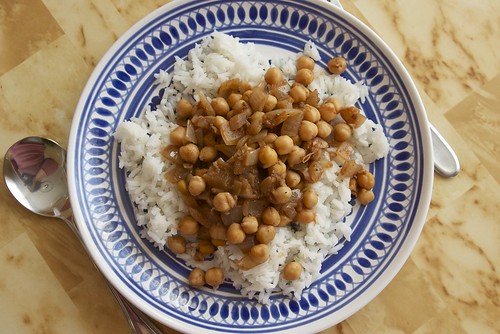
[ready to eat]

[close up]
I'm telling you, it is one satisfying dish. And healthy. And vegetarian. And vegan for that matter.
Got a favorite Indian food recipe? Please share!