Recent Posts

Showing posts with label wedding. Show all posts

Saturday, January 15, 2011

Wedding Retrospective: The guest book(lets)

Well, it's been ages since the wedding... but I realized there were still a few projects I hadn't yet blogged.  Also, we are right in the thick of wedding-planning season for any Spring brides out there!  It was two full years ago that I was pulling this project together.

IMG_2942

[finished booklets]

Initially, these booklets were going to be labeled as table numbers.  I had seen a great tutorial for making the booklets on the DIY Wedding section of the amazing Once Wed, and instantly loved the idea.  As time went by and the decor/venue plans evolved, I decided the booklets might be too small to serve as a table marker.  Instead, I decided a booklet at every guest table would take the place of a single guest book at the front of the hall.

Why a whole bunch of little booklets instead of one normal guest book?  I liked the idea of people being able to take the time to write a thought or a story or a bit of advice for us instead of just writing a short greeting and signing their names.  Mike and I have a lot of creative/hilarious/thoughtful friends and family members in our lives and I wanted to capture more from them than simply "Congratulations and Best Wishes".
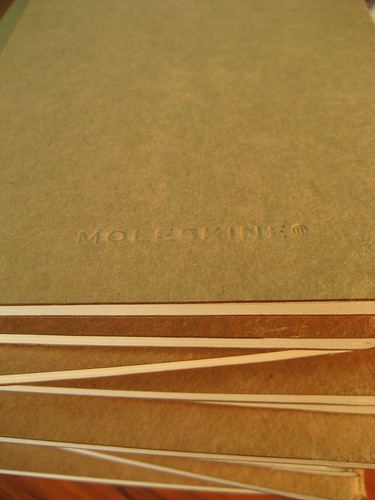
IMG_2904

[moleskine booklets]

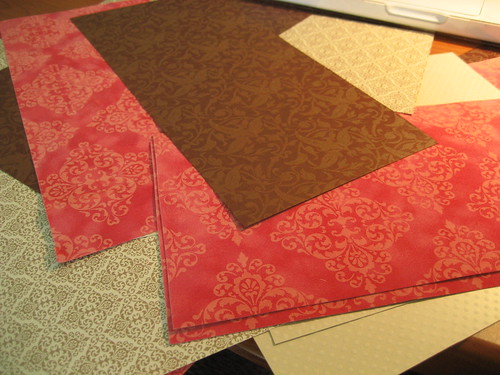
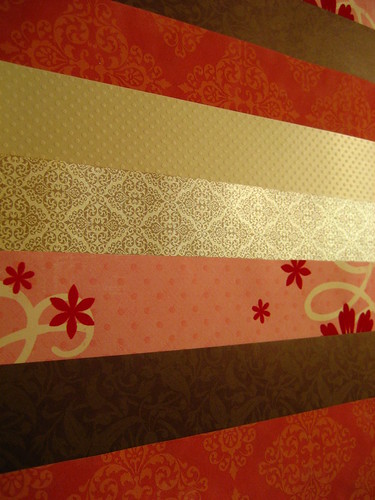
My favorite - totally favorite - part of the project was choosing the paper.  (I have a thing for paper).  Our colours (as you may know from previous posts on the wedding) were pink and brown and cream.  Most of the paper was found at DeSerres in Halifax with a few special (i.e. velvet-texture pink damask) sheets from Michaels in St. John's.
IMG_2908

IMG_2708

[paper]

I found a paper cutter came in handy for this craft (and for several crafts thereafter).  I simply cut strips of  the paper to cover the Moleskines with about an inch of extra paper left to affix (using double-sided acid-free tape) onto the inside front and back covers of the books.
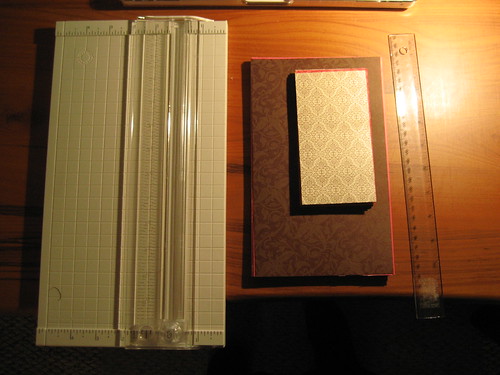
IMG_2922

[supplies]

Another cute feature of the booklets was the ribbon page-marker.  I found a thin, satin finish ribbon, cut the end on the bias and a few inches longer than the spine of the booklet, then taped one end of the ribbon to the outside spine of the booklet before covering it with paper.
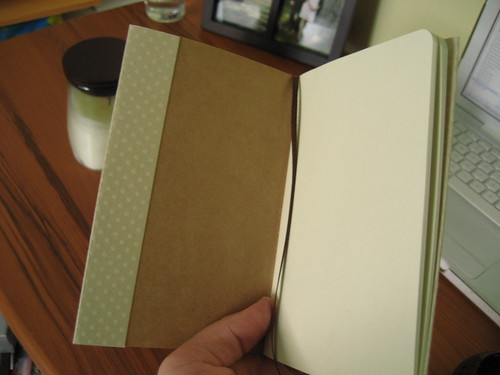
IMG_2949

[page-marker and inside cover]

IMG_2946

[page markers in finished booklets]

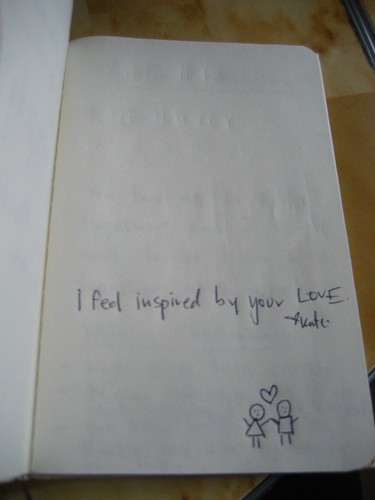
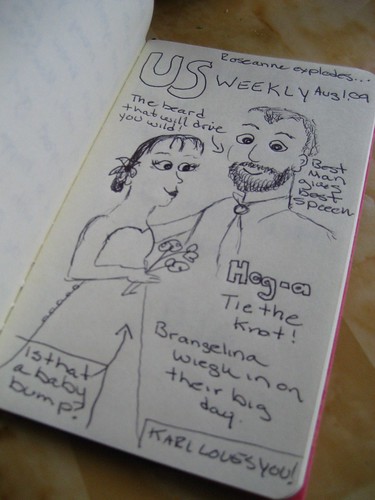
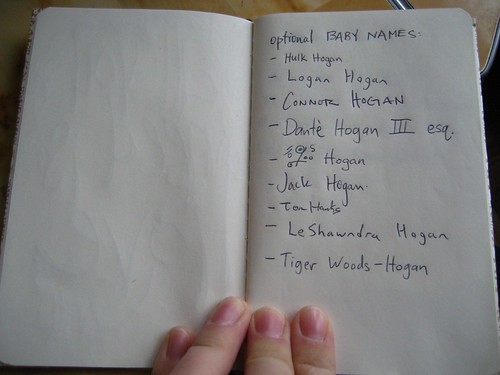
Now, Mike and I have a little shoebox containing the booklets.  They are filled with notes, funny stories, hilarious kids drawings, a limerick, a list of potential baby names, tear-jerking memories, hilarious grown-up drawings, and some really lovely poems.  In retrospect, this might have been the best DIY project of the whole wedding!  Re-reading them over the past few days has reminded me how amazing our wedding guests were and how lucky we were to have so many friends and family members join us!

And now, loyal readers, I will give you a peek into our guest book(lets):
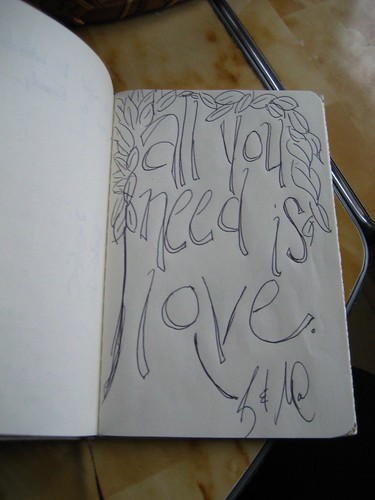
Guest book

Guest book

Guest book

Guest book

Guest book

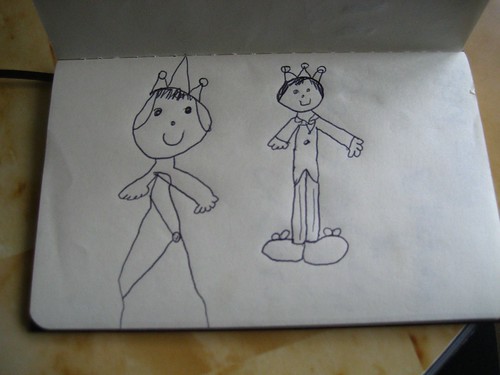
This last drawing by Mike's little cousin was accompanied by the charming caption, "You are now royalty".  So sweet!

Sunday, August 15, 2010

Bunting

Two weeks went by very quickly!  Perhaps because they were filled with so many fun and interesting locations, family, and friends.

I got back to my Reader today and caught up on innumerable unread posts.  Between those posts and the amazing vacation, I feel like I have a million blogging ideas swimming around in my head!

The first one is inevitable.  Bunting.  Inspired by my beautiful cousin who is celebrating her one-week-iversary today.

bunting

Isn't it lovely?  Her wedding tent (above) and reception site were draped with it.  She and her mother (an uber-talented seamstress) found gorgeous fabric and her mom sewed it up into the flags, to the tune of 500 metres feet! 

The bunting set the tone of the wedding as a colourful and festive affair (more photos of the wedding still to come!)  It also served as a theme, of sorts, that ran throughout the wedding decor.

program

Here you can see the bunting theme on the wedding programs.  This same pattern was included on the invitations.

seating chart

And this, my friends, is the seating chart that won rave reviews!  See how the guests' names are listed on each little bunting flag?  Brilliant.

Since my cousin started talking about her bunting, months ago, I have been drawn to it in all shapes and forms.  It can be used in many a festive situation, but I think it is particularly lovely at a wedding.  Please enjoy these select images from my favorite wedding blogs:

Saturday, February 27, 2010

Wedding Retrospective: favours

Our wedding was almost seven months ago, but it's been on my mind lately.  I've also got several friends who are in the midst of wedding planning lately (exciting!!).  And so, I thought I would continue on with my wedding preparation series. 

This entry is all about the favours we gave to our guests.  Before I get into the assembly/design of the favours, I need to give a HUGE shout-out to my parents.  While I was in school in Newfoundland during the spring preceding the wedding, they made batch after batch of mustard pickles and salsa - the preserves that filled our favour jars.  My only role was in decorating the jars.  And I had help with that from both my mom and Mike's mom.  Our wedding would never have happened without support like that from our family and friends. 

So here is a little jar-decorating tutorial.

The required supplies:

IMG_3294
  • coordinating fabric
  • pinking shears
  • raffia (craft straw)
  • double-sided tape
  • elastic bands
  • 2" circle craft punch
  • cardstock, printed with message
  • paper cutter
  • and of course, the preserves!
First step:  cutting fabric squares.  These were about 5" x 5" to fit our standard 125 mL preserve jar lids.  This step was definitely "rate-limiting", so plan ahead and enlist some help in cutting!  I chose pink- and ivory-coloured fabrics to differentiate the two types of preserves.

IMG_3301

Next step:  punching out our labels.  I used a 2" craft punch (found at Michael's) for this job.  There are a few different types of craft punch; mine was the type where you could see exactly what you were cutting.  With some punches, you are cutting blind.  That would not have worked for these labels - we had them spaced very closely (to save cardstock) and had little room for error.  I first cut the printed pages of cardstock into strips, then cut each of the circles out with the punch.

IMG_3297

A step I don't have a picture of is fitting the fabric around the jar lid.  We did this with elastic bands.  Raffia wasn't enough to hold the fabric in place - the elastic bands made the job a lot easier!

Next step:  raffia bows.  This step was a little annoying but the end effect was exactly what I wanted.

IMG_3304

We then affixed the labels to the fabric with double-sided tape:

IMG_3309

Here are two of the finished products.  They were a hit at the wedding.  The groom and best man even cracked open their mustard pickles at the reception!

IMG_3317

Again, thanks to everyone who helped with the wedding preparations! 

Tuesday, October 20, 2009

Wedding Retrospective: pew markers


If you look directly behind my head in this picture, you can see one of our pew markers.  They were very simple to make; the hard part was deciding on a final idea for them.  We wanted something simple and elegant - no lace, no bows.

We (and by "we" I mean Mom and I) wanted ten markers.  So, we couldn't spend a fortune on each piece.  We needed something that we could find in bulk for a good price.

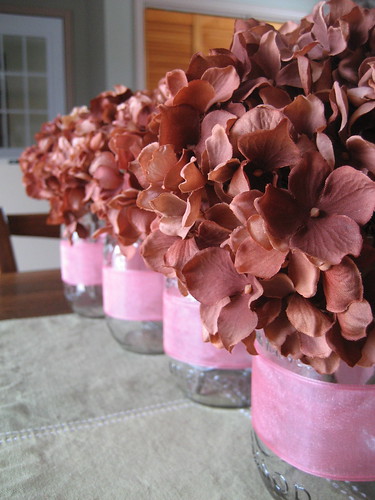
In keeping with the theme of the favors (to be seen in a future post), we decided to go with Mason jars as the base of the marker.  We easily found ten around the house.  The best part of using Mason jars is that they're totally reusable.

We then proceeded to wrack our brains about what would go in the jars.  Fresh flowers from the florist were a little too pricey for us - we preferred to spend our floral budget on the girls' bouquets (my amazing aunt crafted all the boys' boutonnieres for us!).  We next priced faux flowers at Michaels, which were shockingly expensive.  But, as luck would have it, on the way out the door, we spotted some pre-made 'bouquets' of hydrangeas on sale for about 70% off.  What was more fortunate was the colour - brown!

We were then off to find the finishing touch - two inch pink ribbon.  This we found at our florist who sold it by the metre.

We decided we'd hang the jars from the pews with some 'rustic' twine.  Hint:  go to the dollar store for twine - we tried agricultural supply places first and apparently most twine is blue these days!  Not the rustic look we were going for!

IMG_3424

IMG_3425

Here you can see the finished products (minus the twine for hanging).  Ribbon was wrapped two or three times to deepen the colour (the best colour we could find was a sheer pink) and secured with double sided tape.

The hydrangeas were trimmed using wire cutters so that they would sit snugly in the mouth of the jars.  This project definitely worked well with the fullness of the hydrangea - a single bloom per jar was sufficient.

Post a comment if you have any questions!  For more of my wedding posts, look here.

Thursday, September 24, 2009

Wedding pics have arrived!

We were thrilled to receive our official wedding photos last week.  Every one was sharp and stunning.  Many thanks to Pam Bernard, our photographer.  We didn't even notice her during the ceremony, and yet she captured so many amazing shots.

The wedding was just such a joyous occasion for us.  What a day.  We couldn't be more grateful for the family and friends that made it that way!

(You can click on the photos for the large version.) 


{All photos credit Pam Bernard}
{Program design credit Becki Peckham}
{Flower arrangements by Daisy-A-Day}

Thursday, September 10, 2009

Wedding Retrospective: bridesmaid thank-you cards

So as most of my readers know, Mike and I got hitched this summer.  The wedding and all its DIY/crafty goodness went down before the birth of my little blog here.  So I am starting a series of posts:  Wedding Retrospective.  There are several little projects I pulled off that I'll detail here on runty mouse.

The craft I'll show you today came about six months before the wedding.  My amazing bridesmaids and maid-of-honour had been listening to me waffle over wedding details, had all flown to Ottawa in November for a dress-shopping, girls-weekend excursion, and I was generally feeling like a very loved bride.  So I wanted to make up some thank-you cards for them, in advance of the wedding.

Our colours were pink, brown and ivory.  The bridesmaid's dresses can be seen below (in action!).

photo credit: C. Forbrigger via Facebook

I thought the dress symbolized the role the girls were playing.  It was a simple, clear image that would mean something to them on first viewing.

I found some beautiful, textured paper at Michael's to use as the "dress" - almost a velvet texture, with a lighter-toned damask pattern (I'm a sucker for damask).  The rest of the paper was lightly textured cardstock.  Mmmm, paper.

A mock up of the "dresses":

IMG_2686

And now, the finished products:

IMG_2689

It was a fun little project that certainly got me into the wedding planning mood and that I hope showed the girls how grateful I was (still am!) for their help and support!