Recent Posts

Saturday, October 22, 2011

Schwarzwälder Kirschtorte

Also known as Black Forest Cherry Cake.  A cake I've always enjoyed and admired.  One I might never have tried to make on my own (seems like a high degree of difficulty, no?).  Well, the stars aligned a few weeks ago and it became apparent that I needed to get on it.

You see, we had planned an Oktoberfest celebration (in honour of both the season and our recent adventures in Germany).  It happened to be scheduled on the same date as the birthday of a dear friend of mine.  It didn't take a master of deductive reasoning to identify Black Forest cake as the most appropriate gâteau d'anniversaire for the occasion.

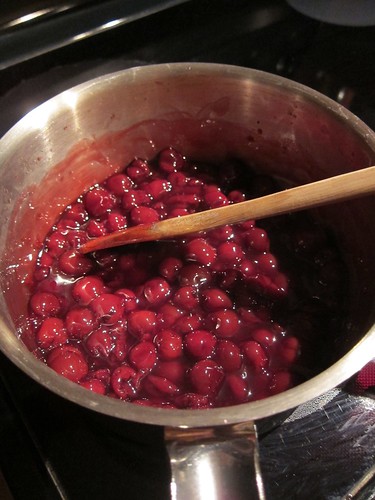
It took a few grocery store trips to gather all the ingredients.  I decided to short-cut with the chocolate cake part (thank you Duncan Hines), but wanted to create the cherry filling from scratch.  Luckily a local grocery store had some imported sour cherries in juice.  Add a bit of sugar and corn starch, stir for an eternity, and you get delicious cherry filling:

Cherry filling

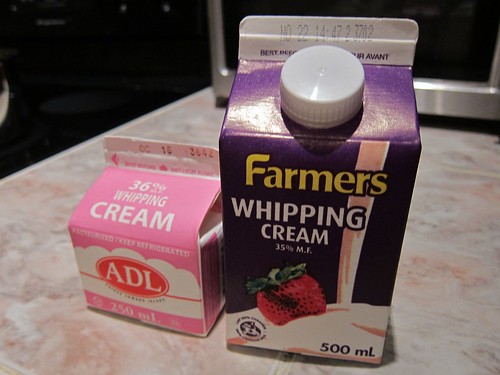
I know you know what comes next:

Whipping cream

Oh yeah.  Full-fat.

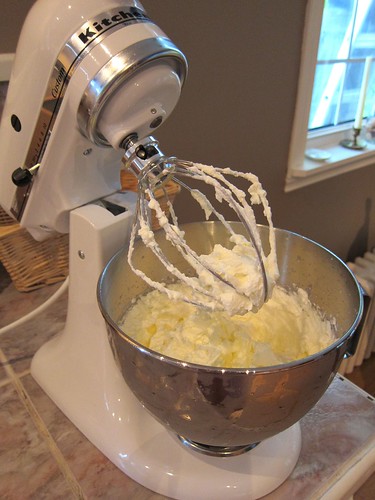
Add some icing sugar to get, well, icing:

Whipped cream

(Not going to tell you how many spoonfuls I sampled to make sure it was "just right".)

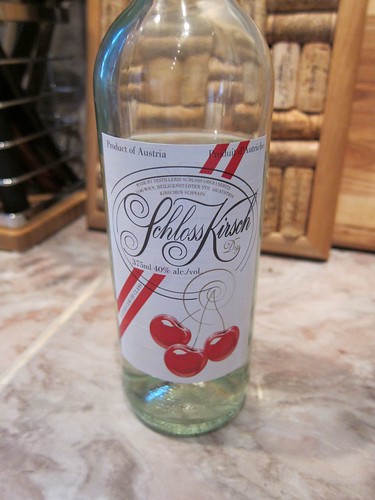
Another special ingredient was Kirsch, a strong alcohol made from cherry distillate.  Tastes nothing like cherries, more like whiskey.  So I diluted it with a syrup made from the sour cherry juice and more sugar.

Kirsch

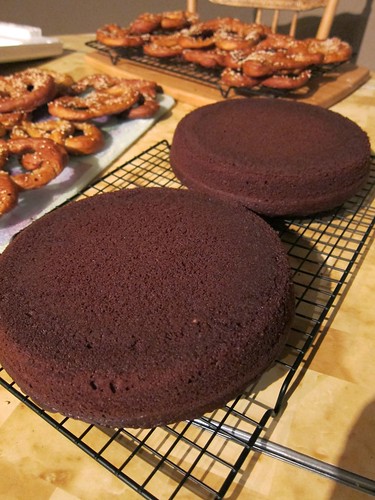
Cake (and pretzels)

These are the cakes, left out overnight to cool and dry slightly.  (See the husband's homemade soft pretzels in the background?  Yum!)  You may know that this cake has several layers, more than your average b-day cake.  I thought cutting it would be a horrible mess, until I found a tip on the interwebs.

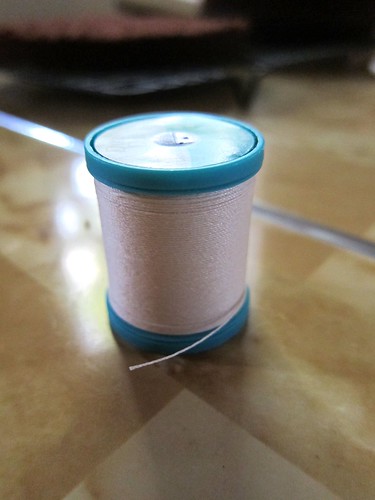
Thread

Ingenious!

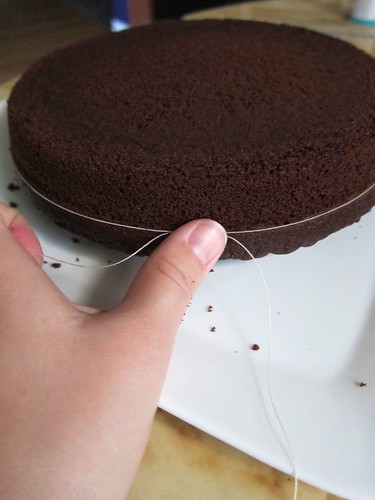
Cake-slicing trick

Wrap the thread around the middle of the cake, pull, and voila!  Two layers!  I was sure I had discovered the world's best-kept secret, but a quick poll later on at the party assured me this was essentially bakers' common sense.  Martha was probably born knowing this one.

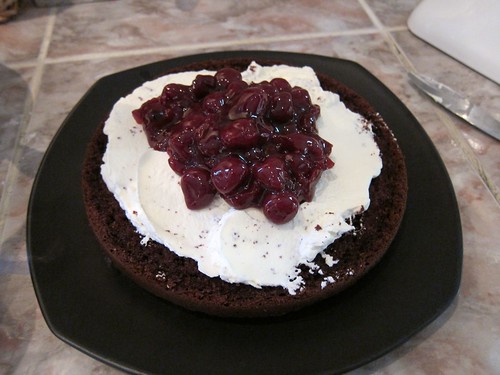
Anyway, it was then time for assembly:

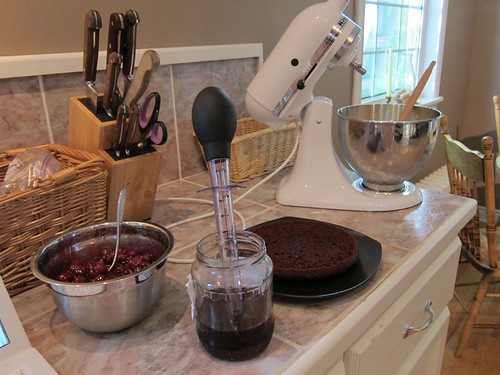
Ready to assemble

In this order: cake layer, baster-full of boozy-cherry-juice, dollop of whipped cream, cup of cherry filling.

Layering

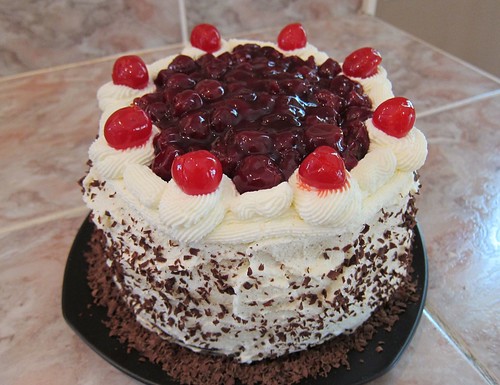
...and so on, until a final layer of chocolate cake is on top.  Then you let your inner Cake Boss out, and decorate the crap out of this towering calorie-fest.

Black Forest cake

Final product!

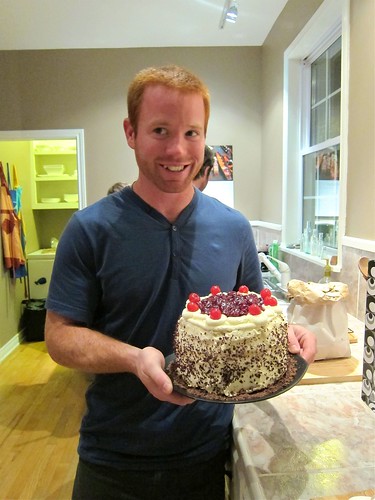
With the birthday boy:

Birthday boy

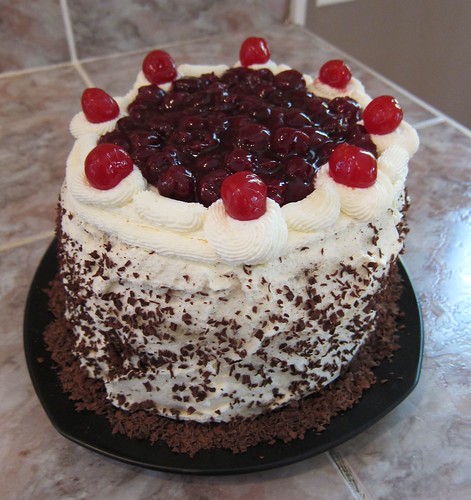
(Now, just to keep it real, I need to show you the cake from another angle.  Has a bit of a list to it.  Next time I will try a bit harder to make the layers flush.)

Listing

For any of you viewers at home interested in tackling the Leaning Tower of Bavaria that you see above,  here are two links to helpful online recipes.  I used a hybrid of the two.  Check out the comments below the recipe on the first link too - it's a gold mine down there.

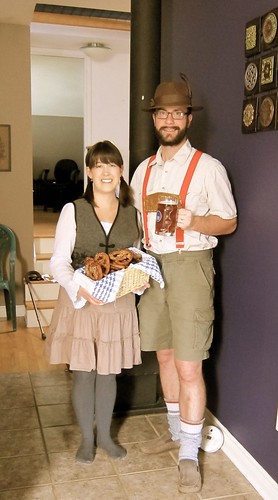
One last thing.  When Mike and I get into something, we get waaaay into it.  So trust me, Schwarzwälder Kirschtorte tastes best when you are wearing traditional Bavarian lederhosen.

Hosts in 'hosen
Saturday, October 1, 2011

The last of summer

Last weekend was just beautiful on Prince Edward Island.  Although it was late September, Sunday was like a summer's day.  

Beach sunset

We headed to Cavendish Beach.  A first for me, despite being an Islander for almost thirty years.  It was worth the wait, especially since at this time of year the beach was nearly deserted.

shadow

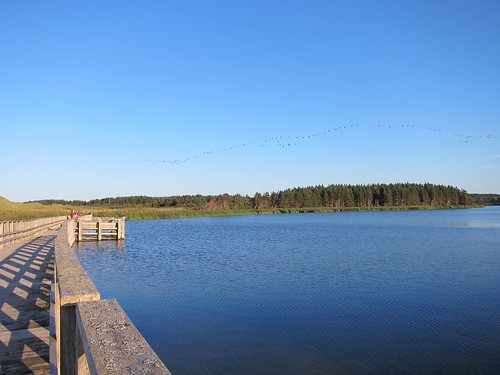
There were some great photo opportunities.  It was a majestic sight as dozens of Canada geese departed the nearby pond for points south.

migrating geese

Canada geese

The sand was soft as powder.  Shadows were starting to fall and the sand had a lovely cooling effect on hot feet.  I took this shot with a desktop background in mind.  Feel free to download it from my Flickr account if you like it (just click through).

rippled sand

Can you tell we're enjoying being back on PEI?

Hogans

Wednesday, September 14, 2011

Soft as a rock

During a rare slow period this past winter, I recklessly decided to start a new hobby.  In retrospect, I needed a new hobby like an Eskimo needs a Frigidaire (as George Jones would put it).  But the curse of the crafty is that when you see a new craft, you think, "I can do that!".

Needle felting, that's what I'm getting to.  If you are reading my blog, I'm assuming you have seen some felted projects around the blogosphere, Etsy, Supermarket and the like.  Anyway, I loved the aesthetic of felted pieces and had heard over and over again that needle felting was "easy" (with the small footnote that even experienced needle felters occasionally spill their own blood).

For those of you still in the dark, needle felting is a way of turning raw, unspun wool (a.k.a. roving) into felt.  Have you ever washed a wool sweater and had it come out of the washing machine looking like it might fit a neonate?  Well, that's wet felting.  The water, heat, and agitation of the washing machine denature and tangle the strands of wool into a thick, tough (shrunken) mat of felt.  With needle felting, the wool stays dry.  A very sharp (remember the blood I mentioned above), specialized needle with tiny divots in it is used to poke at the wool and mechanically tangle the fibres.

So, given my (short-lived) free time and the low start-up cost of needle felting, I gave it a try.

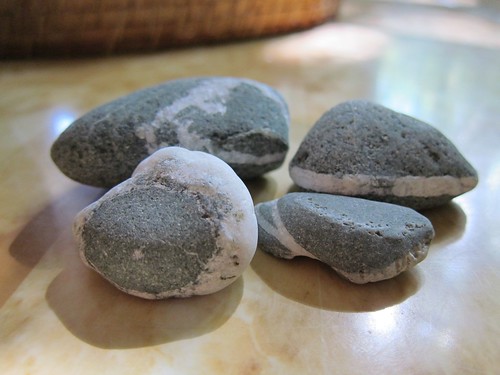
IMG_2091

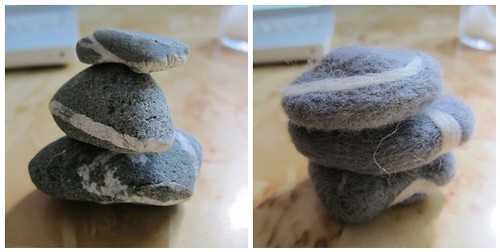
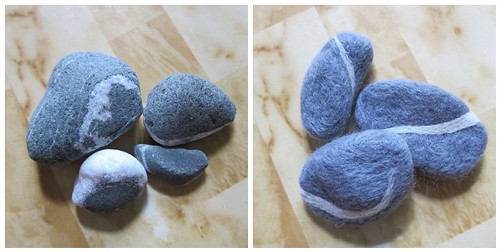
Stones like these were my inspiration.  Stones are a great starter project - there is no right shape to aim for.  A little wiggle room is ideal for your first project.

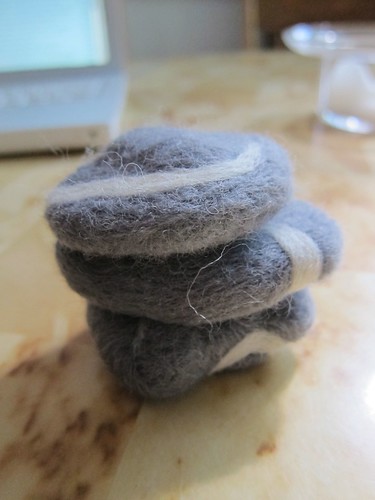
So I found some lovely grey and ivory roving (at this little shop during my trip to Ottawa) and gave it my best poke.  Well, my best million pokes.  And came up with something like this:

felt stones

Not too bad, I think!

stack

collection

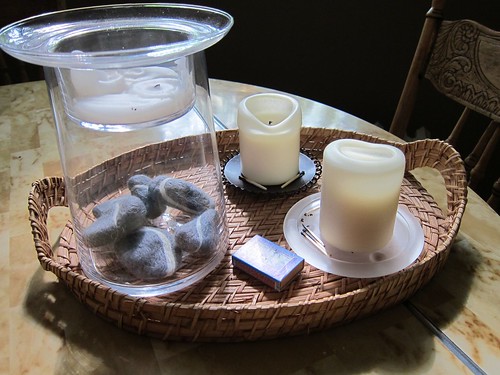
For now, they decorate a large glass vase/candleholder on my table.

 table display

I have a few more items in the works, mainly consisting of decorations for our inaugural Christmas tree (for which we have a current total of nine ornaments).  I would love to do a Christmas post on a few of them.  Guess I better get felting!

Thursday, August 25, 2011

Brugge

Continuing on with the story of our European adventure... after discovering Düsseldorf and eating our way through Chimay, the husband and I made our way to Brugge, Belgium.

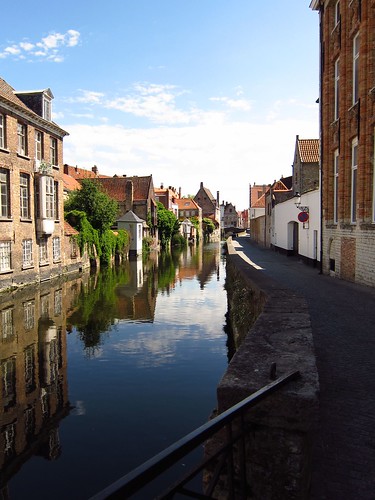
Canal

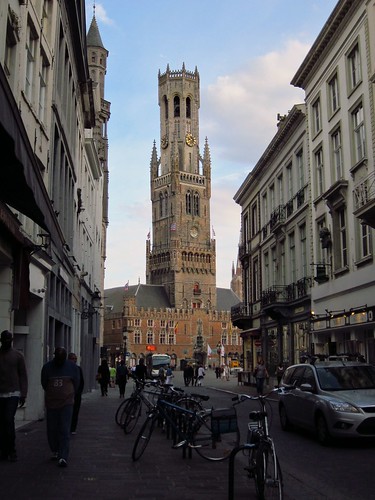
Maybe the prettiest city ever.  Legend has it that Brugge was spared the drab-ification of the Industrial Revolution thanks to the thriving lace-making industry in the area.  Or that's what I was told when I first traveled there in 2003.  On this trip I learned that the city's history is not so simplistic.  Brugge at one point was supposedly the commercial centre of the world, has a history of attracting great European artists, and was once actually a port city (silt deposits now place it a-ways inland).  These days it seems to have a reputation in Europe for being a big tourist trap.  But, like all good cliches, Brugge's reputation is rooted in truth - it's a great spot to visit!

Markt in day

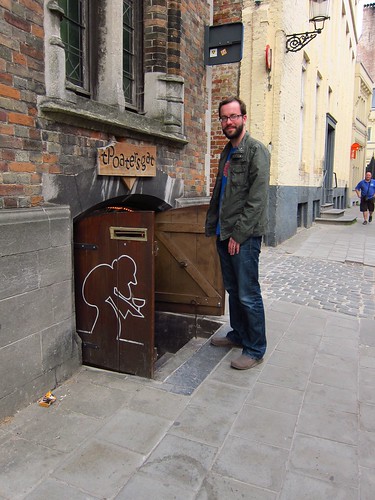
We spent hours on end traipsing over the cobblestoned streets in the historic (UNESCO-historic) city centre.  The streets circle around the Markt and run parallel with the many canals of the city (hence the alias "Venice of the North").    We found tiny cafes, funny little homes, and some hole-in-the-wall-ground beer cafes.

t'Poatersgat

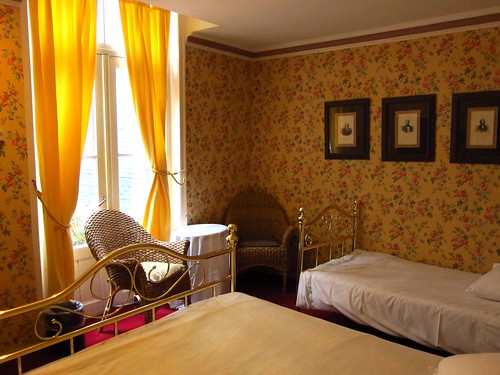
Our lodgings were lovely to look at, though a bit damp in person (I guess that was to be expected in the bargain lodgings of "Venice of the North").

Passages Bruges

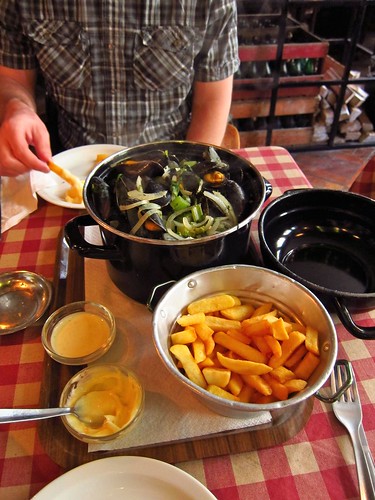
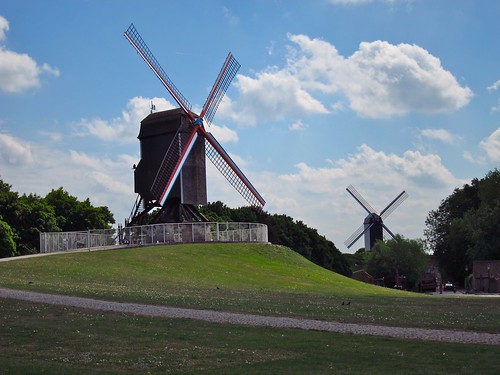
The food was excellent.  For an example, see our moules-et-frites, below.  On a few occasions we hit up the grocery stores for picnic fare and lunched near the windmills on the perimeter of the city.  Simple and romantic - fitting for our honeymoon.  We also ate delicious Belgian waffles but they didn't come close to lasting long enough to be photographed.  Luckily, they're safely stored away in my food memory.

Moules et Frites

Windmills

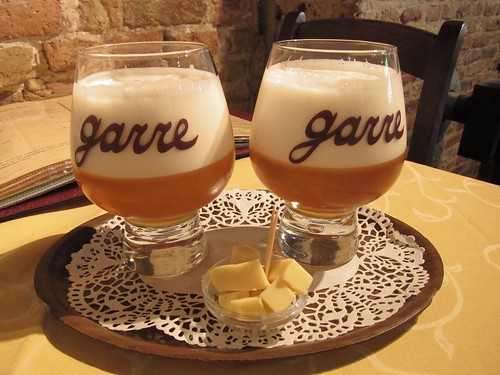
I can't not mention the beer.  Belgium has so many beer styles, some only to be found in that country.  There's not really beer there - except the odd import - that would really be recognizable as beer to the Canadian mass market.  Many Belgian styles are sweet and/or have a high alcohol content, but really the styles run the gamut.  To generalize, it's the kind of beer you savour and relish.  You won't see a Belgian chugging.  You don't buy a 2-4 in Brugge.  In short, Belgian beer is an art form.  When's the last time you went to a Canadian pub, asked for the house beer and got this:

Beer, the Belgian way

Served on it's own tray, in it's own glass, on a doily, with a side of specially selected local cheese.  Belgian beer.  That's what I'm talking about.

To me, Brugge is a wonderfully rich city and well worth a visit.  I've been there twice and I'd love to go again.

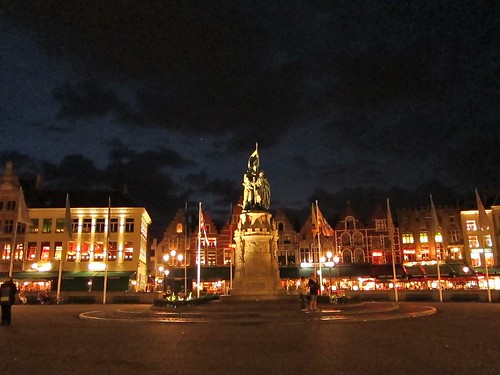
Markt at night

The next European stop will be in the Czech Republic.  So stay tuned...

Sunday, August 21, 2011

Garden fresh

Hello again!  It's about time I got back to the blog.  It's been a busy summer with a new house and a new job, so despite having lots of things to blog about I haven't found enough time to actually post!

Back in June, when we moved in to the house, I quickly took advantage of my very first yard (yeah!), and planted veggies straight away.  At the time I said I would be content if I even had a 10% yield, seeing as it was my first year planting anything.

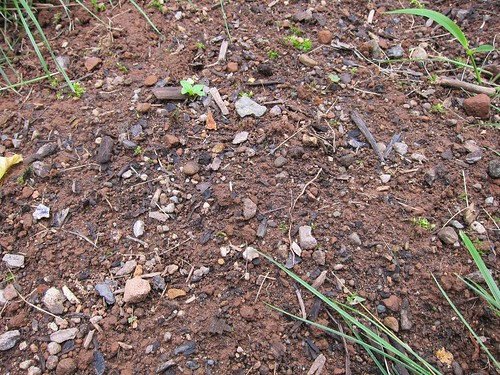
Sure enough, I didn't get a super yield.  Below is a picture (taken last week) of the 'garden' where I planted yellow beans, carrots, and cucumbers.

IMG_1999

[underwhelming]

Yep.  Underwhelming.  Because NOTHING grew!  I noticed when I tilled the garden that there were numerous creepy-crawlies making a home in the dirt.  Cut-worms must have been included in the melange because, aside from a few short-lived bean sprouts, my crop yield was nil.  Mildly disappointing.

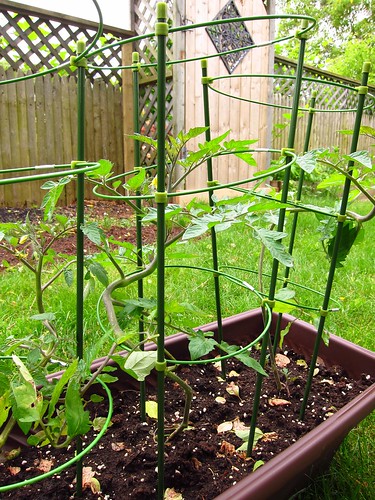
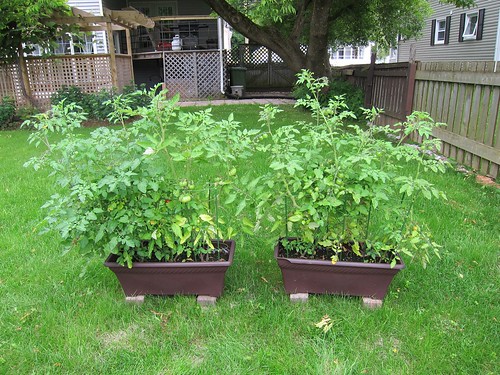
But now onto the success story of my garden:  the cherry tomatoes!  I decided to plant potted tomatoes because I've heard good things about container gardening - you know exactly what type of soil you're giving the plants, you can move the containers to get the optimal light, and really, you can put them wherever in/on your yard or deck you please.  I found my plants at VanKampen's Greenhouses here in Charlottetown.

IMG_1541

[just after planting]

I planted three cherry tomato plants per container (in retrospect I would have planted two - you'll see why).  One container was a mix of potting soil + PEI compost and the other had potting soil + a Miracle-Gro potting soil.  I was going to experiment to see which plants did better, but of course mixed up the containers before labeling them (all my years experimenting in labs obviously have gone to waste!).

IMG_1997

[crazy plants]

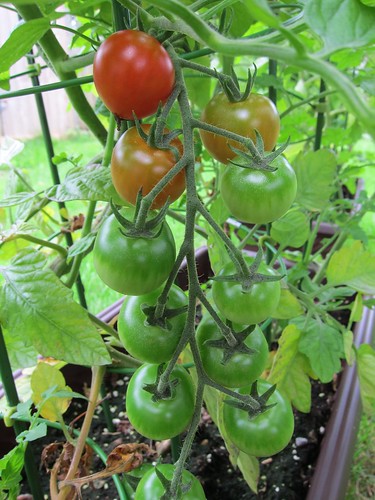
In the end, the soil-experiment mix-up was moot.  All plants took off like crazy.  At last count, about three weeks ago, there were over 100 tomatoes on the vines - I'm guessing that number has doubled by now!  If you look closely in the pic above, you can see the green wire frames I'm using to support the vines - compare to the first picture to see how massive the plants actually are!

IMG_1992

[pretty tomatoes]

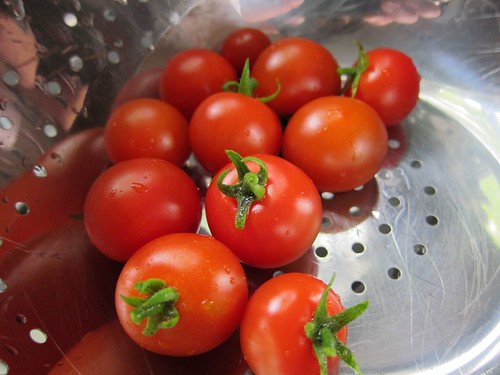
Cherry tomatoes

[enough for dinner!]

The best part is that the tomatoes are actually starting to ripen in useful quantities.  For about two weeks we simply ate them as they ripened one-by-one, but this weekend we had enough to use in our marinated-summer-veggie-and-tofu-kabobs.  We typically go through a container of cherry tomatoes every week or two, so this garden success story will actually help our grocery bill.

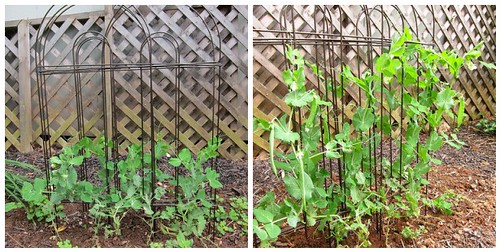
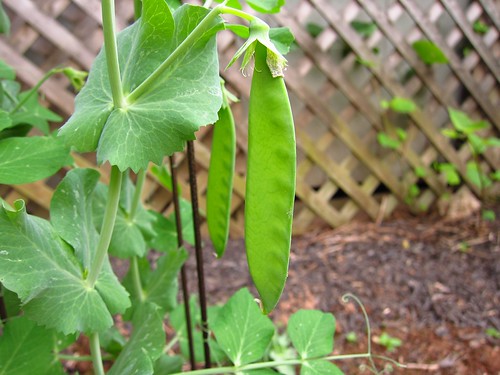
Another success in the garden was the pea patch:

before and after - peas

[before and after]

We're starting to see a bit of a yield - looking forward to the first harvest.

pea pod

[so fresh]

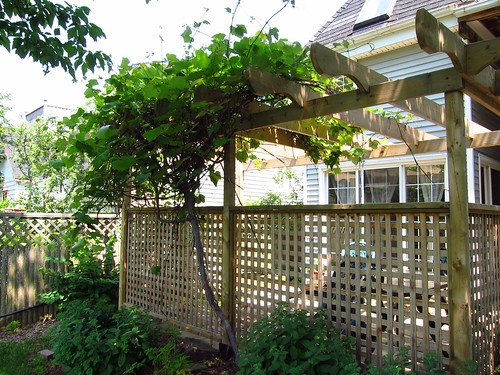
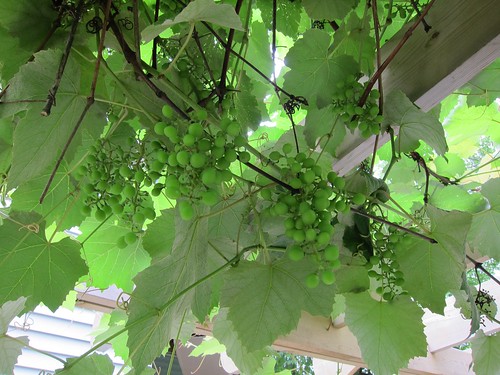
Lastly, let me show you our inherited grape vines.  I can claim no part in helping them grow, they just came along with our house.  They seem to be doing wonderfully this season, though.  I might try some grape jelly in the fall if they become plump enough.  They are definitely still sour at this point.

IMG_1874

[grape vines on the pergola]

IMG_2005

[lotsa grapes!]

Thanks for checking back into the blog despite the summer dormancy.  Hope to have more posts for you soon!